Create a minimal extension
An extension project for DevToys is essentially a .NET Class Library. It can be used seamlessly with Visual Studio, Visual Studio Code and JetBrains Rider.
This guide will walk you through the process of creating and configuring a DevToys extension project using these editors.
Create a Class Library
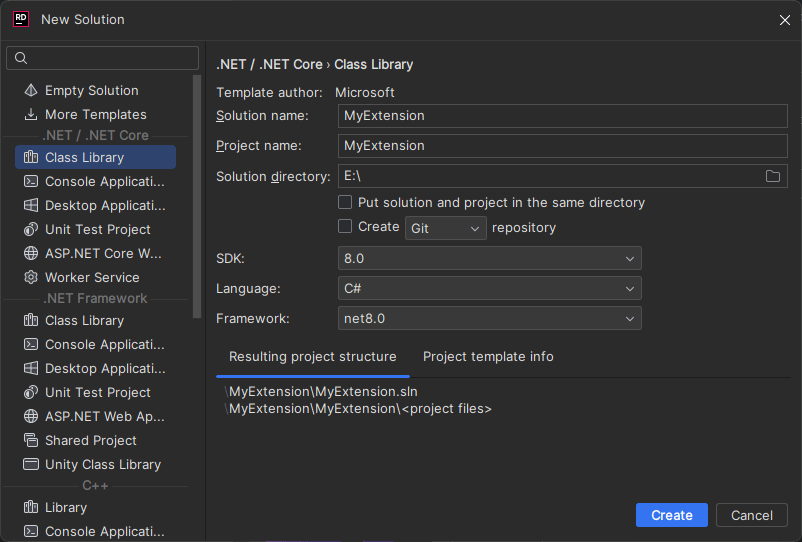
To create a Class Library project with Visual Studio 2022:
- Create a new project, from Visual Studio's Start Page or by pressing
Ctrl+Shift+Non the main window, and select the Class Library template.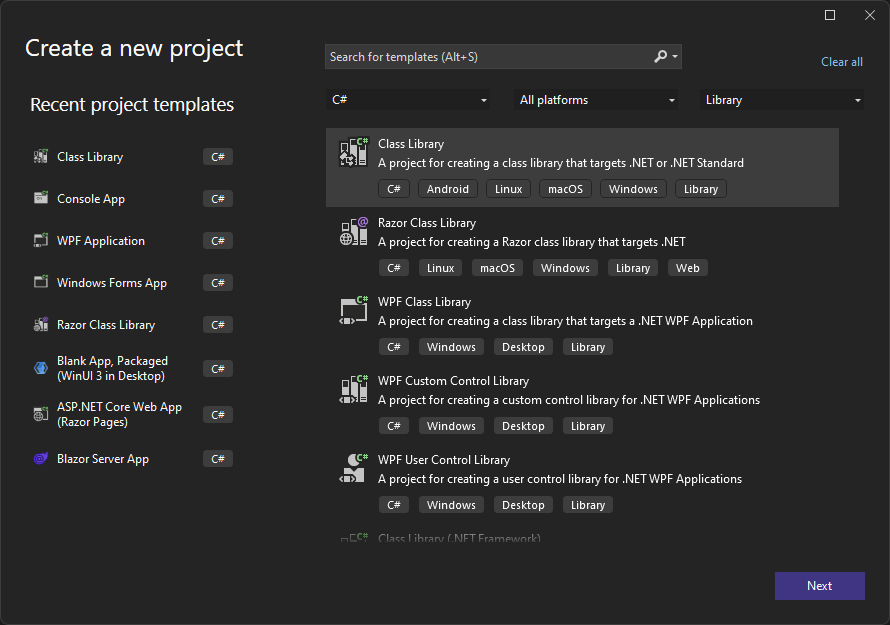
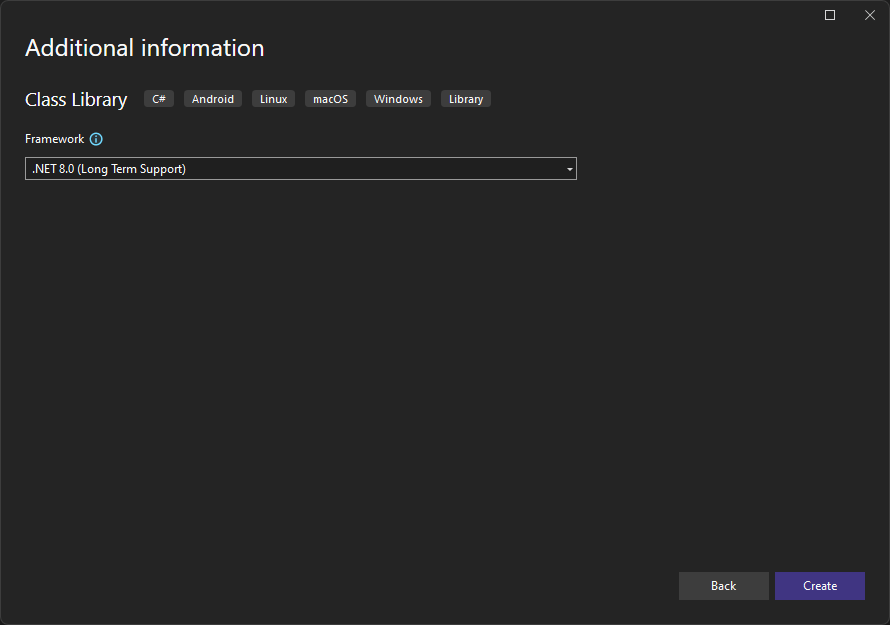
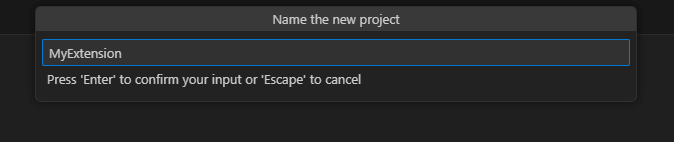
- Assign a name and location for your project.
- Choose .NET 8.0 or later, and click Create.

Adding the DevToys.Api NuGet package
The DevToys.Api is installed via NuGet. To add it to your project:
- Open a command line prompt.
- Navigate to the directory containing the
*.csprojfile you created is (it is the project file create through the previous steps). - Execute the following command:
Replacedotnet add package DevToys.Api --version VERSION_NUMBERVERSION_NUMBERwith the version number of your choice. You can find version numbers on the NuGet website.
Understanding a DevToys extension architecture
A DevToys extension typically consists of a minimum of three components:
- A .resx file containing localized strings.
- IResourceAssemblyIdentifier: A component that instructs DevToys on how to locate resource files such as localized strings and fonts.
- IGuiTool: A DevToys tool definition that includes a UI.
While additional components can be added to extend features like DevToys's Smart Detection or to create a command-line tool, this tutorial will focus on the basics. In the following sections, we will implement a minimal DevToys tool with a UI and explain how to create and implement each of the components mentioned above.
Create a .resx file
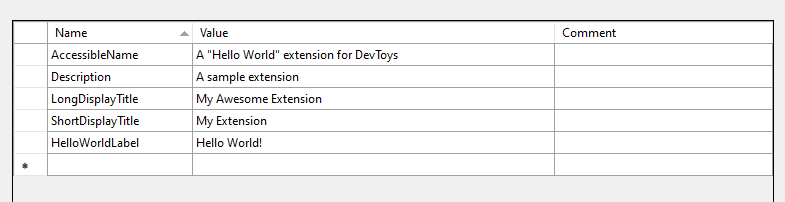
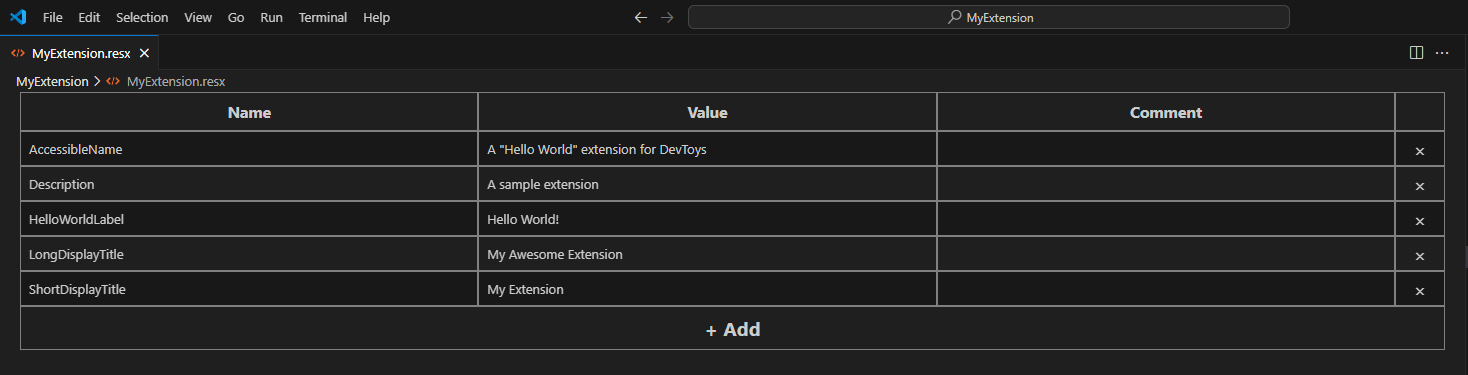
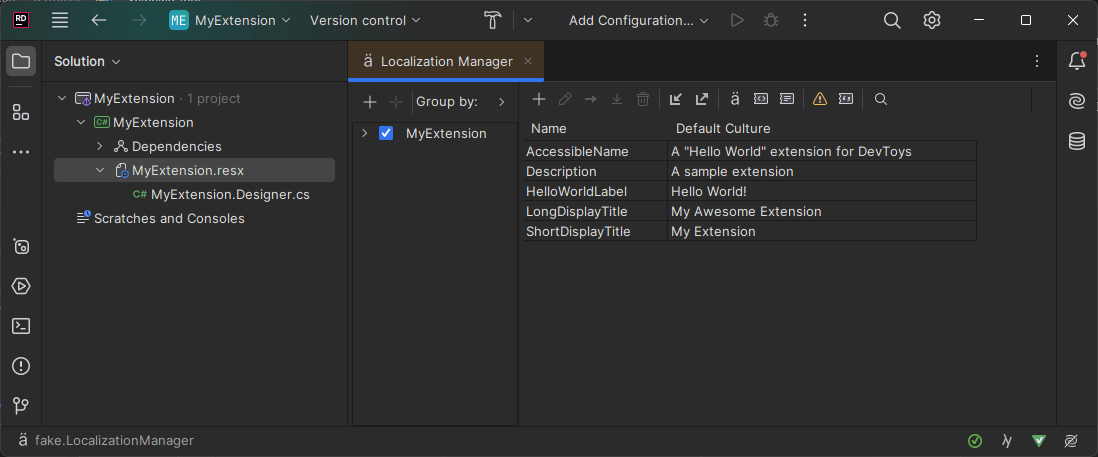
A RESX file is an XML-based resource file for .NET, typically containing localized strings displayed to the user. For this sample extension, we will create a resource file with the following entries:
- ShortDisplayTitle: The tool's title, displayed in the DevToys sidebar.
- LongDisplayTitle: The tool's title, displayed at the top of the screen when the user navigates to the tool.
- AccessibleName: A descriptive name of the tool, useful for users who rely on assistive technology such as screen readers.
- Description: A brief description of the tool, displayed in the grid of tools on the DevToys main page.
- HelloWorldLabel: A “hello world” text to be displayed in the tool's UI.
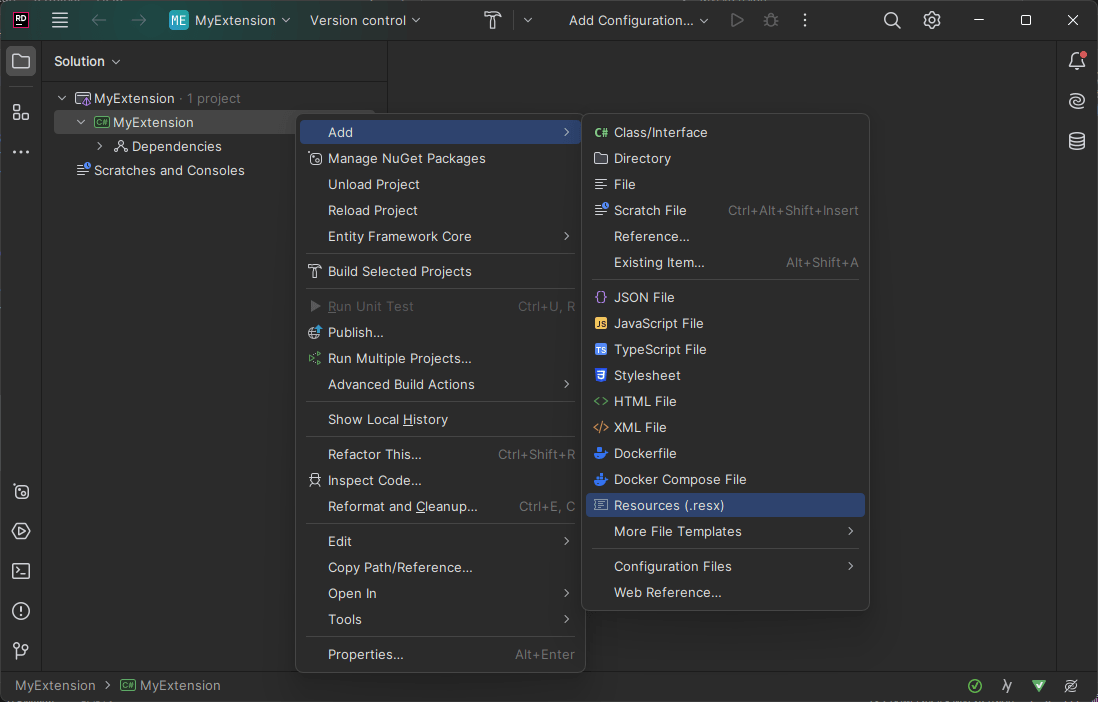
To create a RESX file with Visual Studio 2022:
- In the Solution Explorer, press
Ctrl+Shift+Aand create a file with the.resxextension.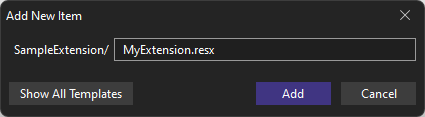
- Add the following entries, and save:
Create a Resource Assembly Identifier
In the project your created earlier, create a new C# document. Add the following code:
using DevToys.Api;
using System.ComponentModel.Composition;

namespace MyExtension;

[Export(typeof(IResourceAssemblyIdentifier))]
[Name(nameof(MyResourceAssemblyIdentifier))]
internal sealed class MyResourceAssemblyIdentifier : IResourceAssemblyIdentifier
{
    public ValueTask<FontDefinition[]> GetFontDefinitionsAsync()
    {
        throw new NotImplementedException();
    }
}
This class will be used by DevToys to identify the assembly containing the resource file with localized strings.
The Export attribute is part of the .NET Managed Extensibility Framework (MEF). This is an important part of DevToys extensibility. It has a significant impact on how an extension should be published. We will explore how in a later section.
Important
Please provide a fairly unique value for the Name attribute. MyResourceAssemblyIdentifier or ResourceAssemblyIdentifier may be already used by other extensions and cause some internal conflicts in DevToys, causing performance degradation. Instead, prefer a more unique name that corresponds to your extension, for example, MyAwesomeJsonToYamlDevToysExtensionResourceAssemblyIdentifier.
Create a tool with a UI
Add a new C# document to the project and add the following code:
using DevToys.Api;
using System.ComponentModel.Composition;
using static DevToys.Api.GUI;

namespace MyExtension;

[Export(typeof(IGuiTool))]
[Name("MyExtension")]                                                         // A unique, internal name of the tool.
[ToolDisplayInformation(
    IconFontName = "FluentSystemIcons",                                       // This font is available by default in DevToys
    IconGlyph = '\uE670',                                                     // An icon that represents a pizza
    GroupName = PredefinedCommonToolGroupNames.Converters,                    // The group in which the tool will appear in the side bar.
    ResourceManagerAssemblyIdentifier = nameof(MyResourceAssemblyIdentifier), // The Resource Assembly Identifier to use
    ResourceManagerBaseName = "MyExtension.MyExtension",                      // The full name (including namespace) of the resource file containing our localized texts
    ShortDisplayTitleResourceName = nameof(MyExtension.ShortDisplayTitle),    // The name of the resource to use for the short display title
    LongDisplayTitleResourceName = nameof(MyExtension.LongDisplayTitle),
    DescriptionResourceName = nameof(MyExtension.Description),
    AccessibleNameResourceName = nameof(MyExtension.AccessibleName))]
internal sealed class MyExtensionGui : IGuiTool
{
    public UIToolView View => new(Label().Style(UILabelStyle.BodyStrong).Text(MyExtension.HelloWorldLabel));

    public void OnDataReceived(string dataTypeName, object? parsedData)
    {
        throw new NotImplementedException();
    }
}
That's it! In the next section, we will cover how to build and debug this extension.